Once a connection has been set up, you can begin creating topics. Topics are accessed through the Topics folder, which is available only after the server connection has been established.
Once a topic has been created, you can access its partitions, through which you can begin to add messages. Once the messages have been added, they can be retrieved by clicking the green play button in the partition toolbar. Messages across all partitions of a topic can be accessed by navigating to the topic's Data tab and clicking the green play button in the toolbar. After retrieval, you can see the following information about each message:
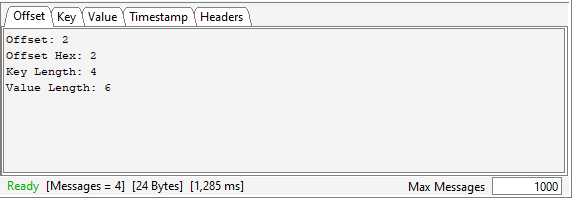
If you are viewing messages at the topic level, the data panel will also show the partition to which each message belongs. Key, value, and header data can all be viewed in either text or hex format. Additionally, key and value data can be viewed in JSON and XML format, provided that the string is valid JSON or XML. This data can be viewed by retrieving the messages and clicking one of them, which will open the message detail panel. The message detail panel can be closed by clicking the table icon in the top toolbar.
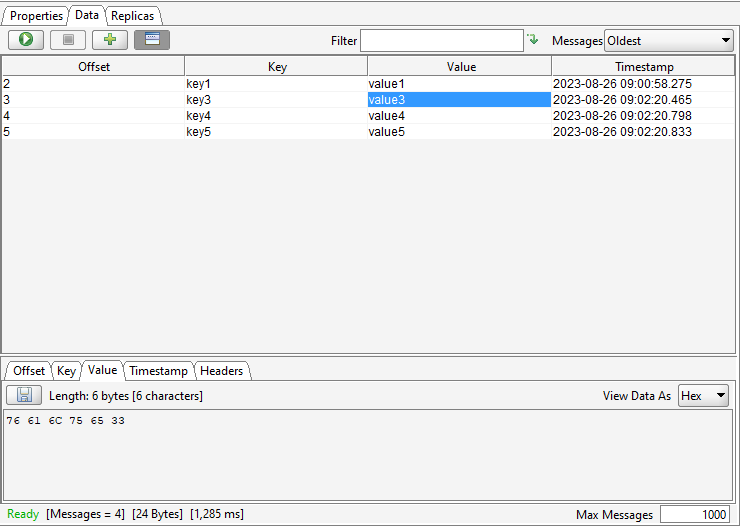
You can also sort messages. By clicking a column header in the data panel, the messages will be sorted based on that column. For example, selecting the Key column will sort all messages alphabetically by key. Clicking the header again will reverse the order.
When dealing with a large number of messages, you can choose whether to show the oldest messages in a topic or the newest messages. Additionally, if you are viewing messages at the partition level, you can show messages from a certain offset. For example, showing messages from offset 100 will display all messages from offset 100 onward. This is controlled through the "Messages" drop-down next to the filter search bar.
You can quickly filter the messages that are currently shown (either at the topic level or the partition level), which makes it easy to find a specific message using the following filter options:
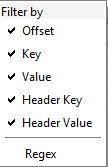
You can also filter data using regex instead of simply typing a string. The above options can be checked and unchecked by clicking the green arrow to the right of the filter search bar.
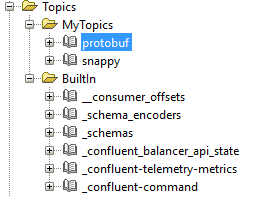
Topics can be grouped into folders to make a specific topic easier to find. A topic folder is created by navigating to the Topics folder and clicking the "Create Folder" button on the bottom toolbar, or by using the "Create Folder" popup menu item, which is accessed by right-clicking the Topics folder. Once a topic folder has been created, you can drag topics into the folder, allowing for easy organization when working with a large number of topics.
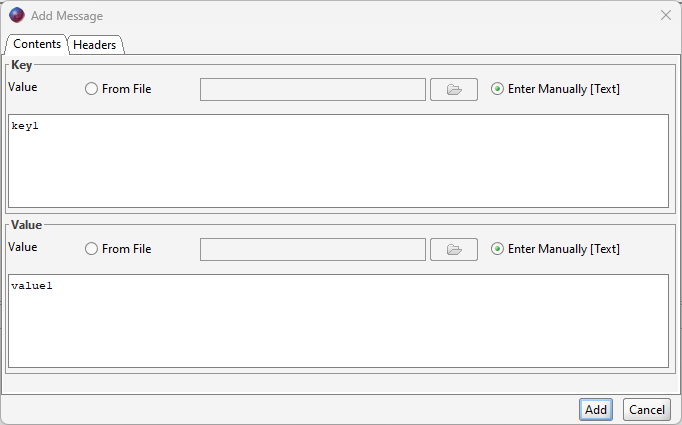
Messages are added by clicking the green plus button in the partition toolbar. You can choose to add either a single message or multiple messages. When adding a single message to a partition, you can choose between loading the key and value data from a file or typing them manually.
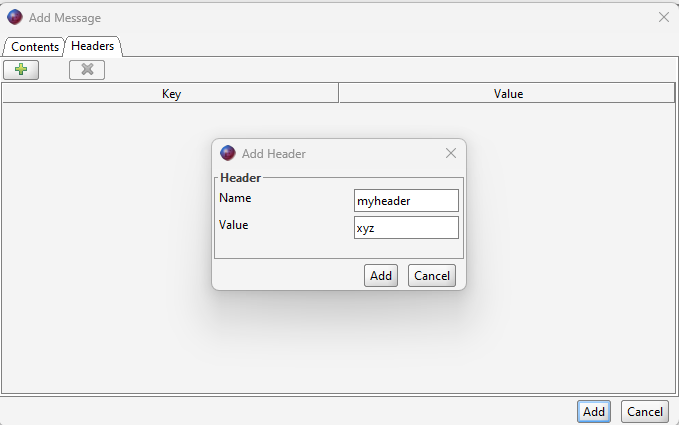
You can also add headers when adding a single message. This is done by navigating to the Headers tab and clicking the green plus button. From there, you can add both a key and a value to each header.
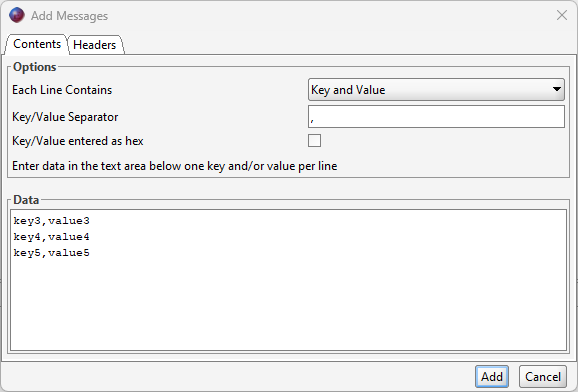
When adding multiple messages, you can choose between adding both a key and value for each message, or only one of key/value. If adding both key and value, you must choose a character to act as a separator (default is comma). You can add one message per line, so multiple messages must be entered on separate lines.
In order to create a topic, you can either navigate to the Topics folder and use the "Add New Topic" button on the bottom toolbar, or use the "Create Topic" menu item that can be accessed by right-clicking the Topics folder. In the "Add Topic" dialog, you must provide the following values under the "General" section:
You can also add topic configurations if needed.
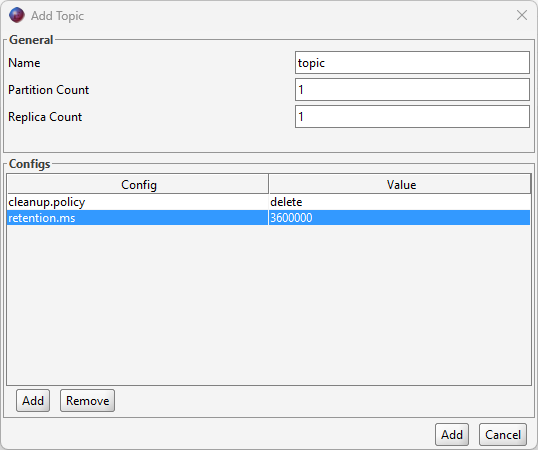
Once the topic has been created, it will be added to the Topics folder. From there, you can access the different partitions of the topic, through which you can begin to add messages. The default content type for adding messages is hexadecimal, but it can easily be changed to string, Avro, or ProtoBuf format. This is done by navigating to the topic and clicking the "Properties" tab.
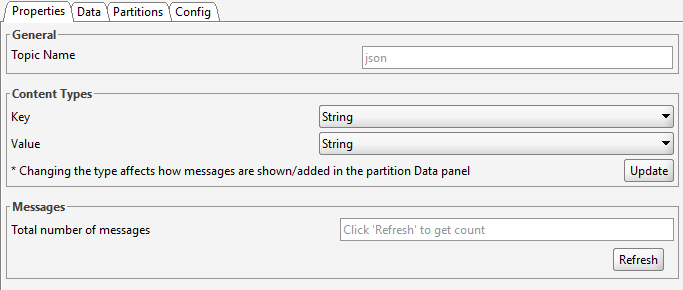
From there, you can choose the format in which you want your keys and values to be displayed or added.
You can transfer data from a server connection to an XML file, which makes it easy to import server connections on a different computer. This is done by right-clicking the Clusters folder and selecting the "Export Connections..." menu item.
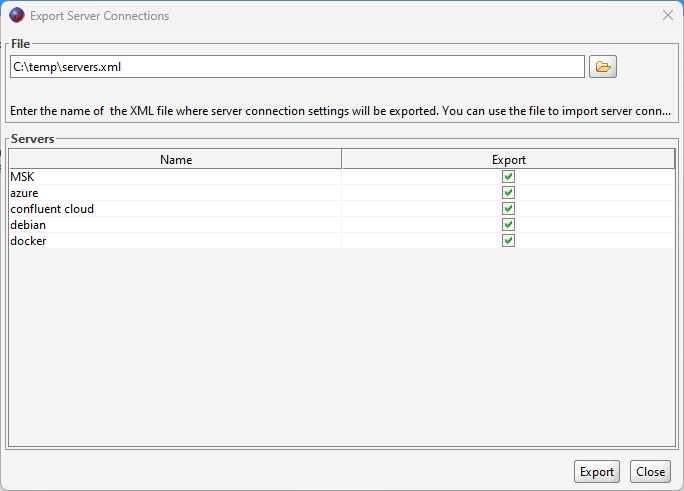
From there, you can choose which connections to export. You can manually type the location to which the data will be exported, or, by clicking the file button, you can navigate to a suitable location for the data file. Once the data has been exported, you will be able to see all the information about the server connections you have selected in the XML file.
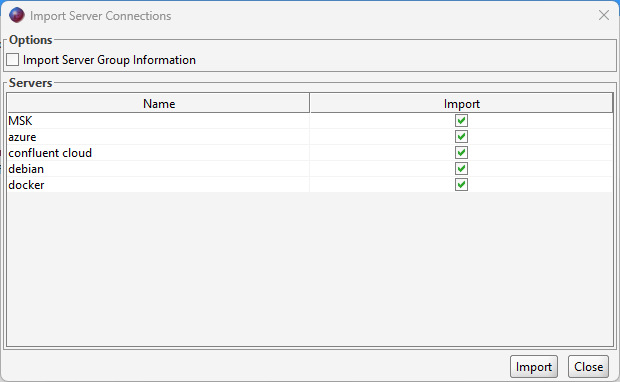
Importing data is done in the same manner as exporting. Simply right-click the Clusters folder and select the "Import Connections..." menu item. From there, navigate to the XML file containing the data you want to import. Once the file is opened, select all of the server connections you want to import and select whether you want information about the server groups. The data will then be added to the Clusters folder.